

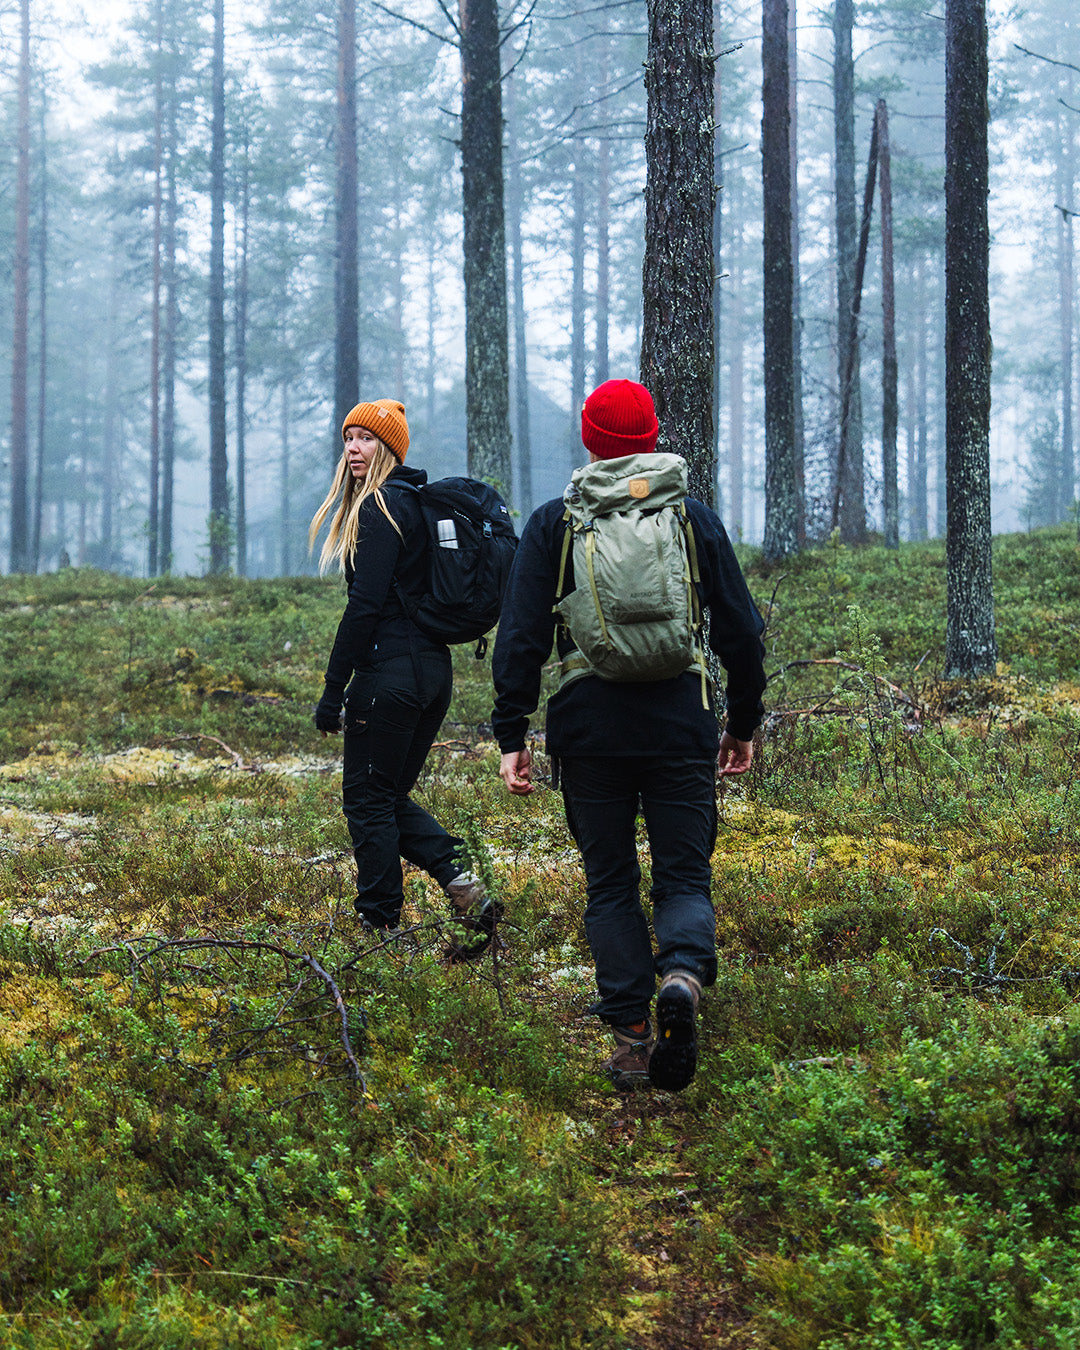


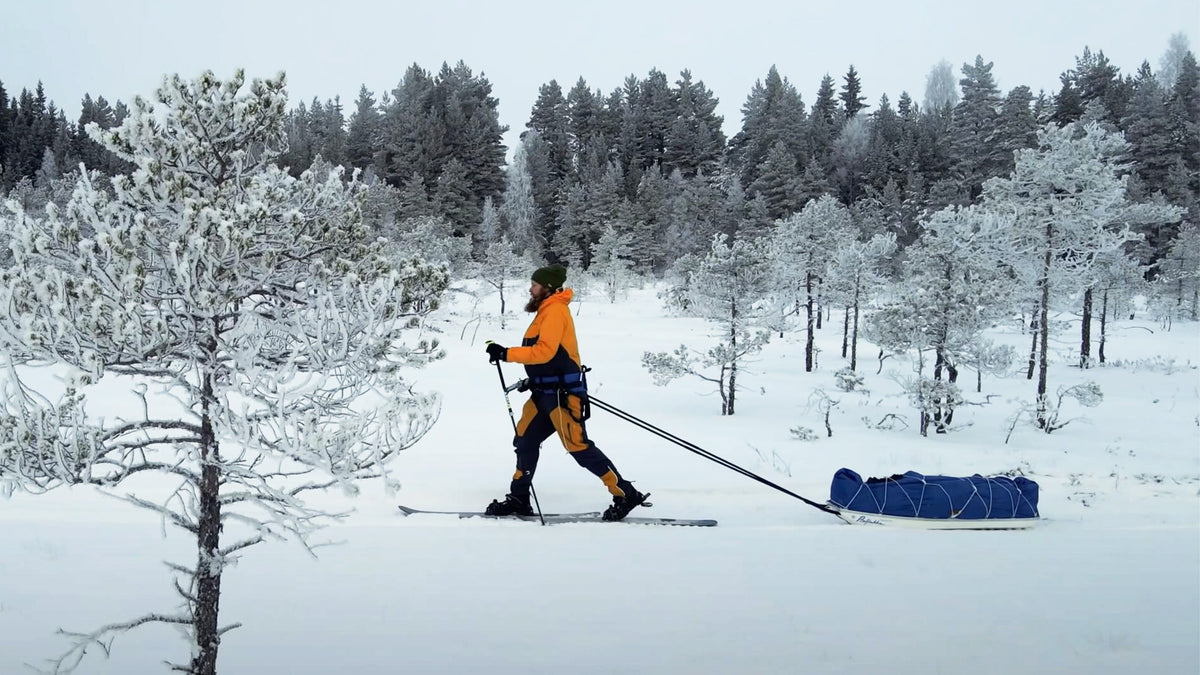
Clothing for ski touring
How to choose gear and layers for a multi-day trip
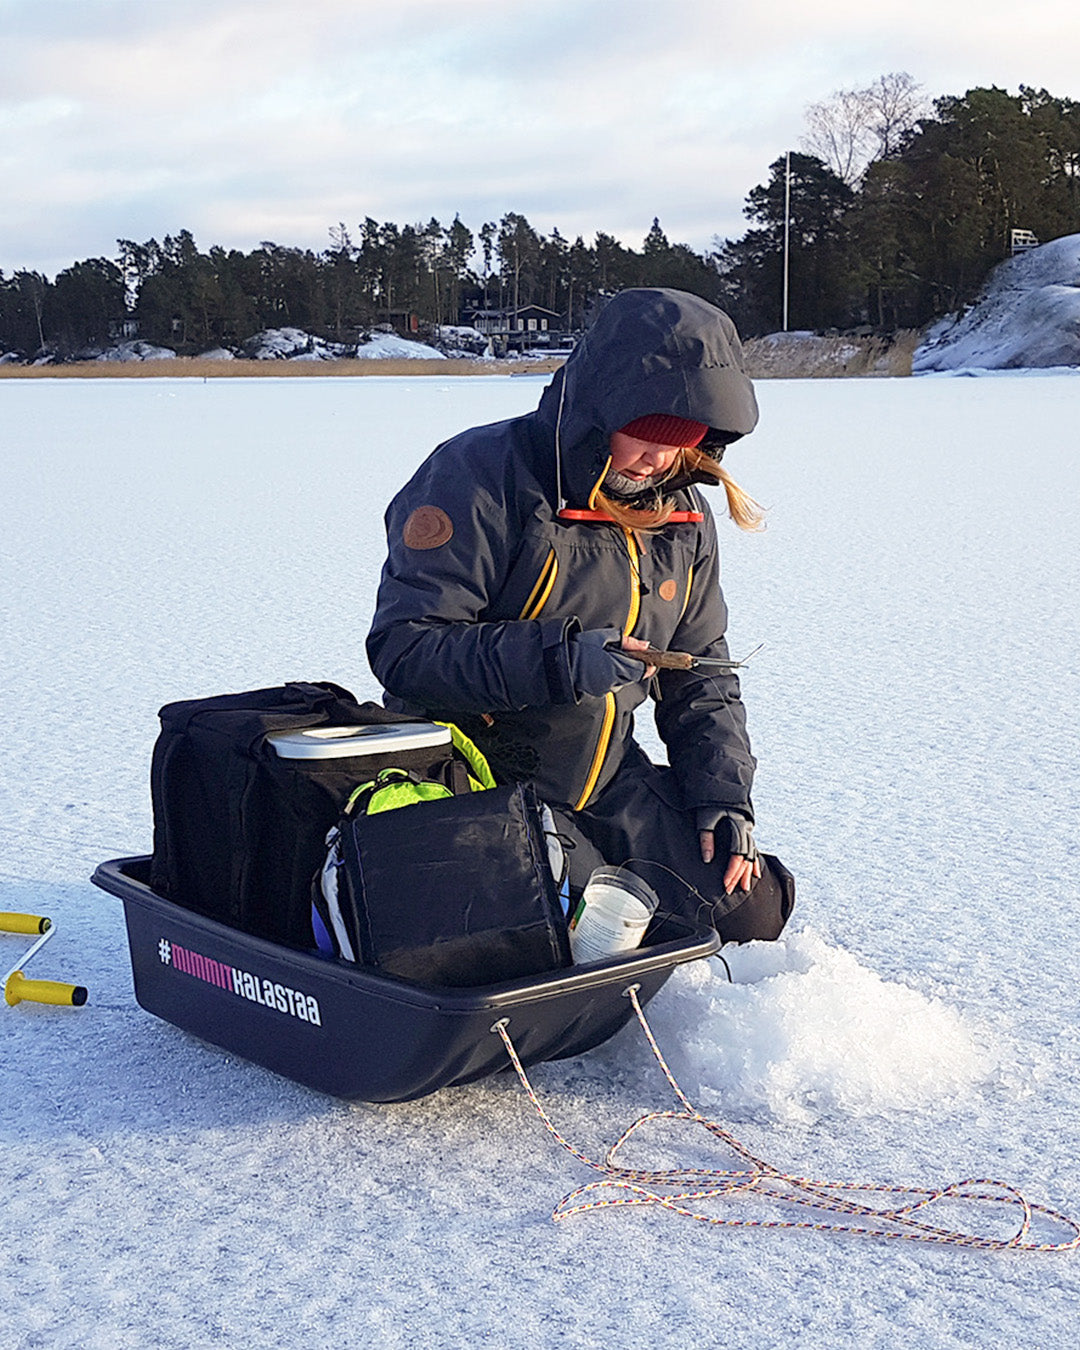
On a ski tour, staying dry and warm is a matter of safety. Your clothing has to work when you are pulling a pulk, crossing windswept open fells and camping in freezing conditions. Merino wool is the warm foundation of a ski tourer's layers: it keeps you warm even when damp and does not easily start to smell, even on a long trip.
This guide focuses on multi-day ski tours in the fells and wilderness, travelling mainly on skis with a pulk. You will find practical tips on choosing when and where to go, safety, layering, and packing accessories and changes of clothes. The guide suits first-timers as well as experienced ski tourers revisiting the basics: a clear plan and routines tested in advance make ski touring smoother and safer.
When to go ski touring and how to time your trip
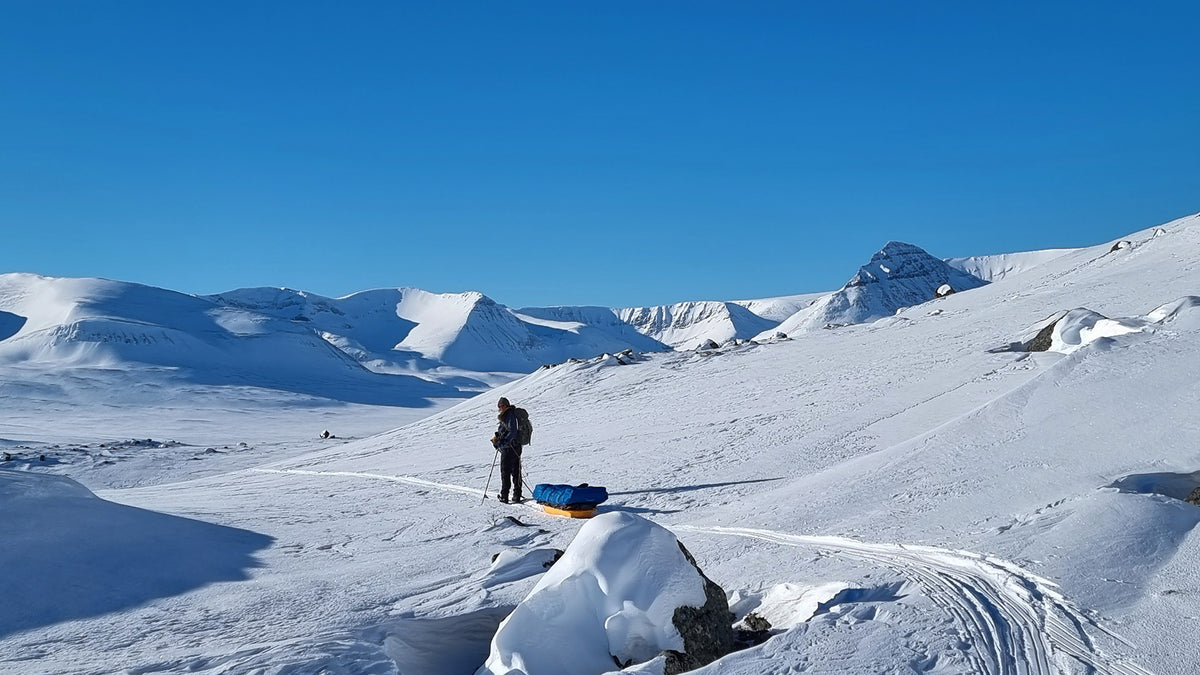
You can go ski touring throughout the winter season, but late winter is usually the easiest time for your first longer trip. The timing directly affects what gear you need and how thick your layers should be.
In midwinter (January–February), days are short, frosts are hard and the snow is often soft. This calls for your warmest base layers, a powerful light and experience.
In late winter (March–April), there is more daylight and the snow crust holds well, especially in the mornings. The spring sun warms you, but nights are still cold, so your layering has to stretch from one extreme to the other within the same day.
The ski holiday weeks and Easter bring lots of other travellers to popular routes and wilderness huts. If you want peace and quiet, go outside the peak season or tour routes without ready-made hut networks. You cannot book a place in an open wilderness hut. Hut etiquette says that those who arrived earlier and have already rested should make room for late arrivals when needed. A hut can still fill up, so take a tent or other emergency shelter with you on hut routes too. The only way to be sure of a bed is a reservable or rental hut.
Keep these in mind when planning your dates and timing:
- Make the most of the morning crust and set off early, when the overnight frost has firmed up the snow. The afternoon sun can soften the snow and make progress hard work. Remember too that in winter, and even in late winter, it gets dark fairly early, so plan the day's route so that you arrive before dusk.
- Estimate travel time realistically and match daily distances to your own experience and fitness, and to the pace of the slowest person in the group. Ski touring with a pulk or a heavy rucksack is harder work than ordinary cross-country skiing. Do not plan daily distances by kilometres alone: weather, terrain and snow quality affect your progress, and headwinds and deep untracked snow slow you down considerably. Leave enough time and energy for the unexpected.
- Be prepared for sudden changes in the weather. In the fells, the weather changes quickly. Even in spring, you may get hard frost, snowfall or a whiteout that makes navigation difficult. Be ready to change your route, cut the trip short or stay in shelter if conditions get worse.
- Protect yourself from the sun. UV radiation reflected from spring snow is already strong in March, and the symptoms of snow blindness only appear hours later, so sunglasses and high-factor sunscreen are essential.
- Build some slack into your schedule: allow 1–2 extra days for storms or delays, so you do not have to ski in extreme conditions on the last day to get home in time.
Ski touring safety – checklist before you set off
Much of your safety is decided before you set off. When you plan your route carefully and make sure someone knows where you are, you can focus on the tour itself. Go through this list before you leave:
- If your route crosses the fells or runs near possible avalanche terrain, check the Finnish Meteorological Institute's avalanche forecast and local conditions before you set off. Favour slopes under 25 degrees and keep well away from steep slopes, gullies and cornices, and from the areas below them. If you plan to travel off marked routes in the fells, take an avalanche safety course, especially before your first independent trips. On the course, you learn to recognise avalanche terrain and assess conditions. Never go into avalanche terrain alone.
- Mark wilderness huts, possible exit routes and points where you can shorten the route on your map.
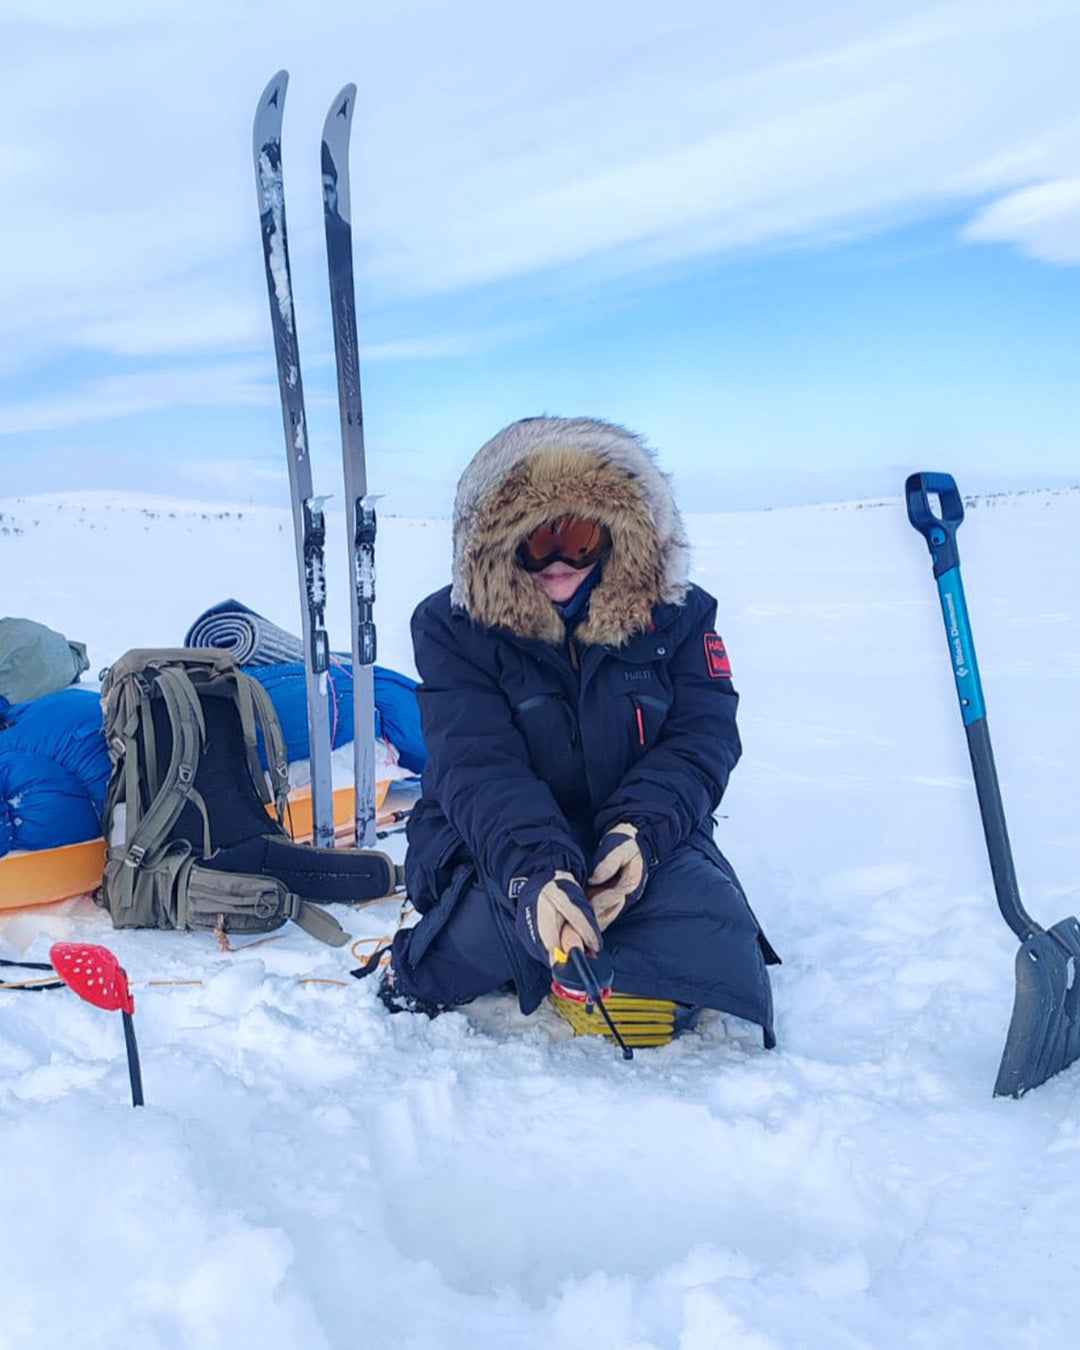
- If your route crosses frozen lakes or rivers, check the ice conditions and keep ice picks around your neck. Avoid currents, straits and river mouths, where the ice can be dangerously weak even if it holds elsewhere. In spring, ice thickness no longer tells you whether it will hold, and ice can give way even when it is 30 centimetres thick.
- Tell someone close to you your route and estimated return time, and agree when they should hear from you at the latest.
- Take a map and compass, and preferably a satellite messenger or a personal locator beacon (PLB) that can send an emergency message even when your phone has no signal.
- Keep your phone charged and warm in a waterproof bag close to your body, as cold weakens the battery. Download the 112 Suomi app for emergencies. Remember, though, that there are dead zones in the fells and you cannot always rely on a phone signal.
- Pack safety gear: first aid supplies, a head torch, a power bank, a tent or other emergency shelter, and warm, dry spare clothes. Do not count on always reaching a wilderness hut as planned.
- Test your skis, bindings, pulk, stove and shelter on a shorter winter trip before you head into the fells or the wilderness.
Clothing is a safety factor too: merino wool keeps you warm even when damp, which gives you some leeway when you stop after a hard climb and heavy sweating. More on the benefits of merino next.
The warming layer – why ski tourers choose merino wool
On a ski tour, clothing is crucial, and for your warm base layer, merino wool is almost always the best choice. In the coldest midwinter, you need thicker layers and more of them; in milder late winter, thinner ones, but the material itself stays the same all season.
Merino keeps you warm even when damp, feels comfortable against your skin and does not start to smell even on a long trip. A thin technical base layer dries faster but does not keep you warm on its own, so you get the best result by combining the two. We will come back to that in a moment.
The same base layers last the entire hike
Ordinary synthetic base layers easily start to smell musty, but in Airbase, odour is kept in check by the silver-ion treatment built into the fibre. Merino wool's natural odour resistance curbs the growth of odour-causing bacteria, so you can ski in the same merino base layers for a whole week-long tour. Simply airing them in a wilderness hut or during a sunny break is often enough to freshen them up. This is a big advantage when you can only carry a limited number of changes of clothes.
Safety and moisture management
In fell weather, getting chilled is a real risk, and at worst a body that has sweated and then cooled can slide into hypothermia. If you sweat on a climb and have to stop in the wind, perhaps to adjust your gear or because of fog, merino wool does not turn into an icy fabric against your skin. It binds moisture inside its fibres and keeps you warm even when damp, giving you valuable leeway just when the weather takes you by surprise.
Drying damp clothes on a trip
On a ski tour, drying clothes can be a challenge, especially in freezing weather. A slightly damp merino shirt can dry with your body heat in your sleeping bag too, but use this trick with care: moisture evaporating from your clothes can move into the sleeping bag's insulation and reduce its warmth, especially in a down sleeping bag. It is better to sleep in a dry spare set of base layers and, where possible, dry the clothes that got damp during the day separately from your sleeping bag. Air your sleeping bag in the morning when the weather allows, so that any moisture that has built up can escape.
When is a technical base layer enough on its own?
If ski touring is physically demanding or you sweat a lot, an Airbase mesh set and a windproof shell may be enough while you are moving, with a merino layer going on when the pace slows. On long climbs or in milder weather, merino can feel too warm unless it is a lightweight version.

Tip
Airbase and merino wool work best together
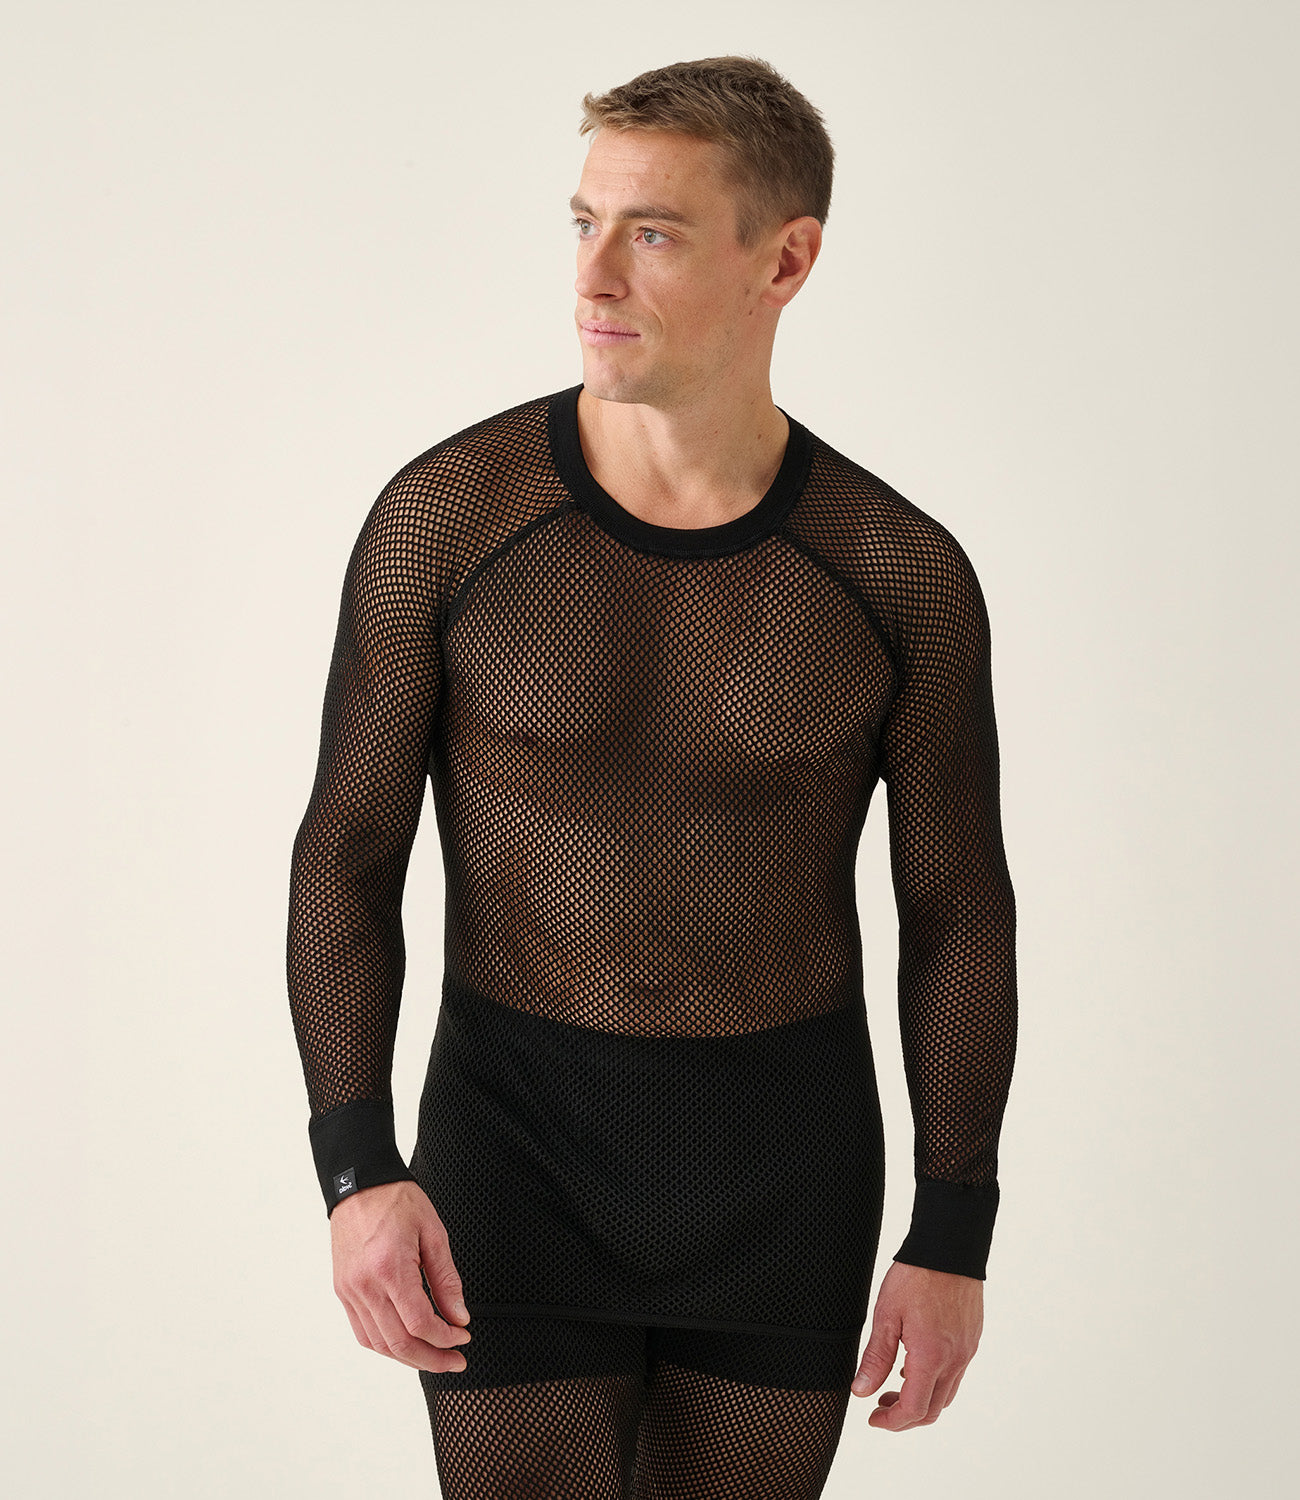
Instead of choosing one or the other, you can combine both. For most ski tourers, this is the best solution for changeable fell weather. Wear a thin Airbase mesh shirt directly against your skin and a merino top over it.
This way each material does what it does best: Airbase moves sweat away from your skin straight away when you are pulling a pulk or climbing and sweating, so moisture does not stay on your skin. Merino wool keeps you warm even when slightly damp, in the wind on open fells and while setting up camp, when your body no longer produces as much heat. The mesh knit also creates a thin layer of air between the layers, which improves insulation.
The result: you stay dry on the way up and warm when you stop.
Why should you avoid wearing cotton on a ski tour?
Cotton absorbs moisture and dries slowly. On a ski tour, that is a dangerous combination: a cotton shirt soaked with sweat turns ice-cold as soon as you stop, and you are bound to get cold. Wet clothing is also hard to dry out in the field. You can usually only dry it in the evening at camp, for example in the warmth of a wilderness hut. In the middle of the skiing day, on a climb or during a break, a wet shirt stays wet and there is nothing you can do about it. That is why cotton is best left out of the layers you wear next to your skin. Always choose a moisture-wicking layer next to your skin, such as Svala's Airbase mesh set.
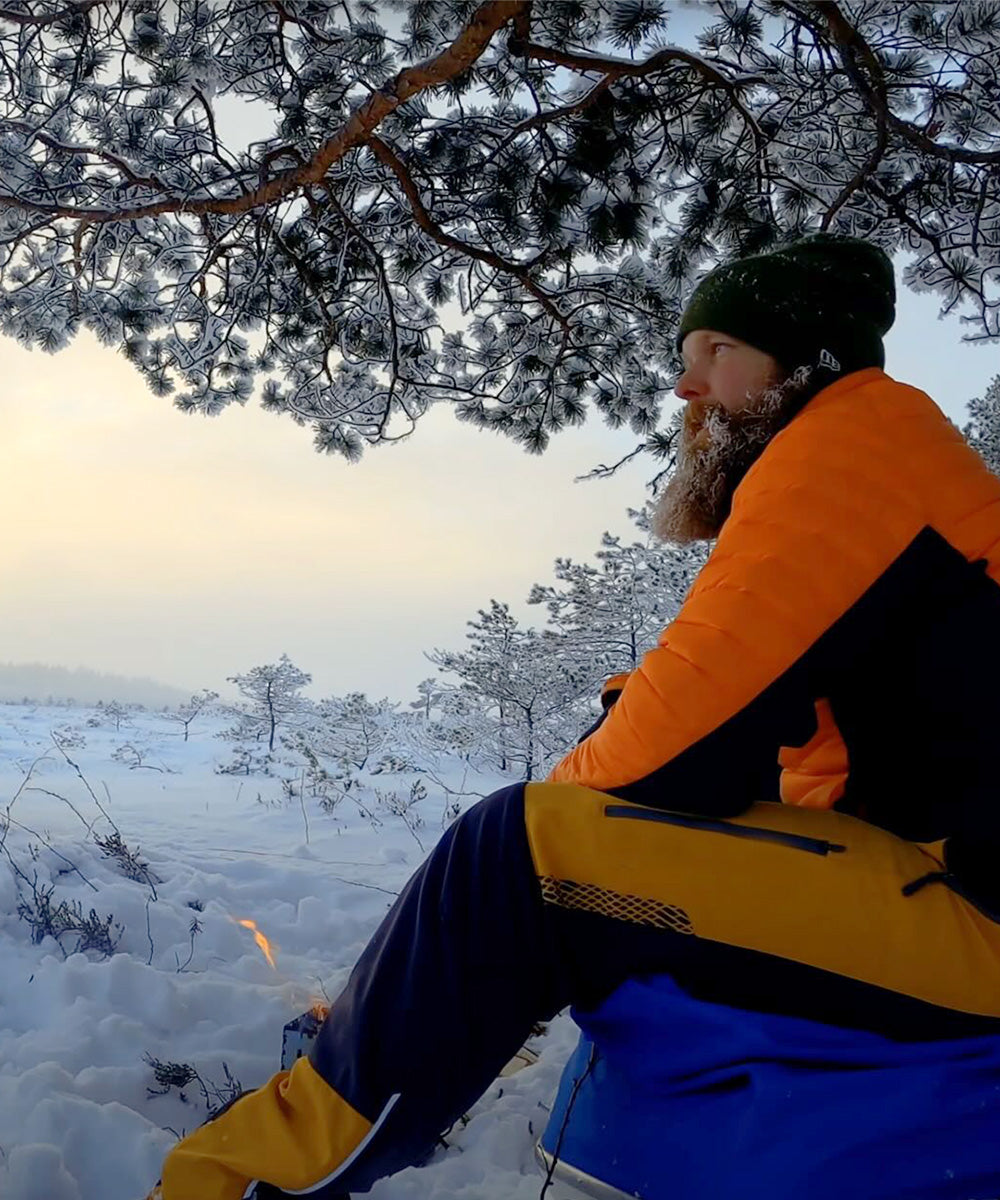
“When I choose clothes for my own adventures, my principles are simplicity, responsibility and function. Because I do so many very different activities, from ski touring to climbing, running, cycling, hiking and sailing, my gear also has to be versatile and work in every season, even in harsh conditions. Above all, I value clothes that suit many activities and seasons, so I can adapt to demanding conditions.”

Ski touring and cross-country skiing
How do equipment requirements change?
An ordinary cross-country ski outing often starts from the sofa at home, with a hot shower a couple of hours later. If your gear lets you down, home and warmth are close by. On a ski tour, things are different: you are on your own for days, help is far away, and you cannot swap wet or unsuitable gear mid-trip. That is why what is a matter of comfort on a ski outing becomes a matter of safety on a tour.
The difference shows in the layers. On a short outing, one or two layers are often enough, because conditions do not have time to change much. On a tour, the same day takes you from sweaty pulk hauling to windy open fells and a chilly camp, so your gear has to cover everything in between and keep working even when you cannot dry or change it. This is exactly why layers and the right materials matter so much on a ski tour.
If you are looking for tips for a cross-country ski outing, read our separate cross-country skiing guide.
Explore our skiing guideHow should you layer for ski touring?
On a ski tour, layering lets you easily add and remove clothing as the weather and your heart rate change. For the hardest frost, you need four layers, each with its own job. On the move, though, you usually need less than you think: set off feeling slightly cool and take off layers before a climb so sweat does not soak your clothes. When you stop, add layers straight away, before you start to feel cold.
0. layer: keeps your skin dry
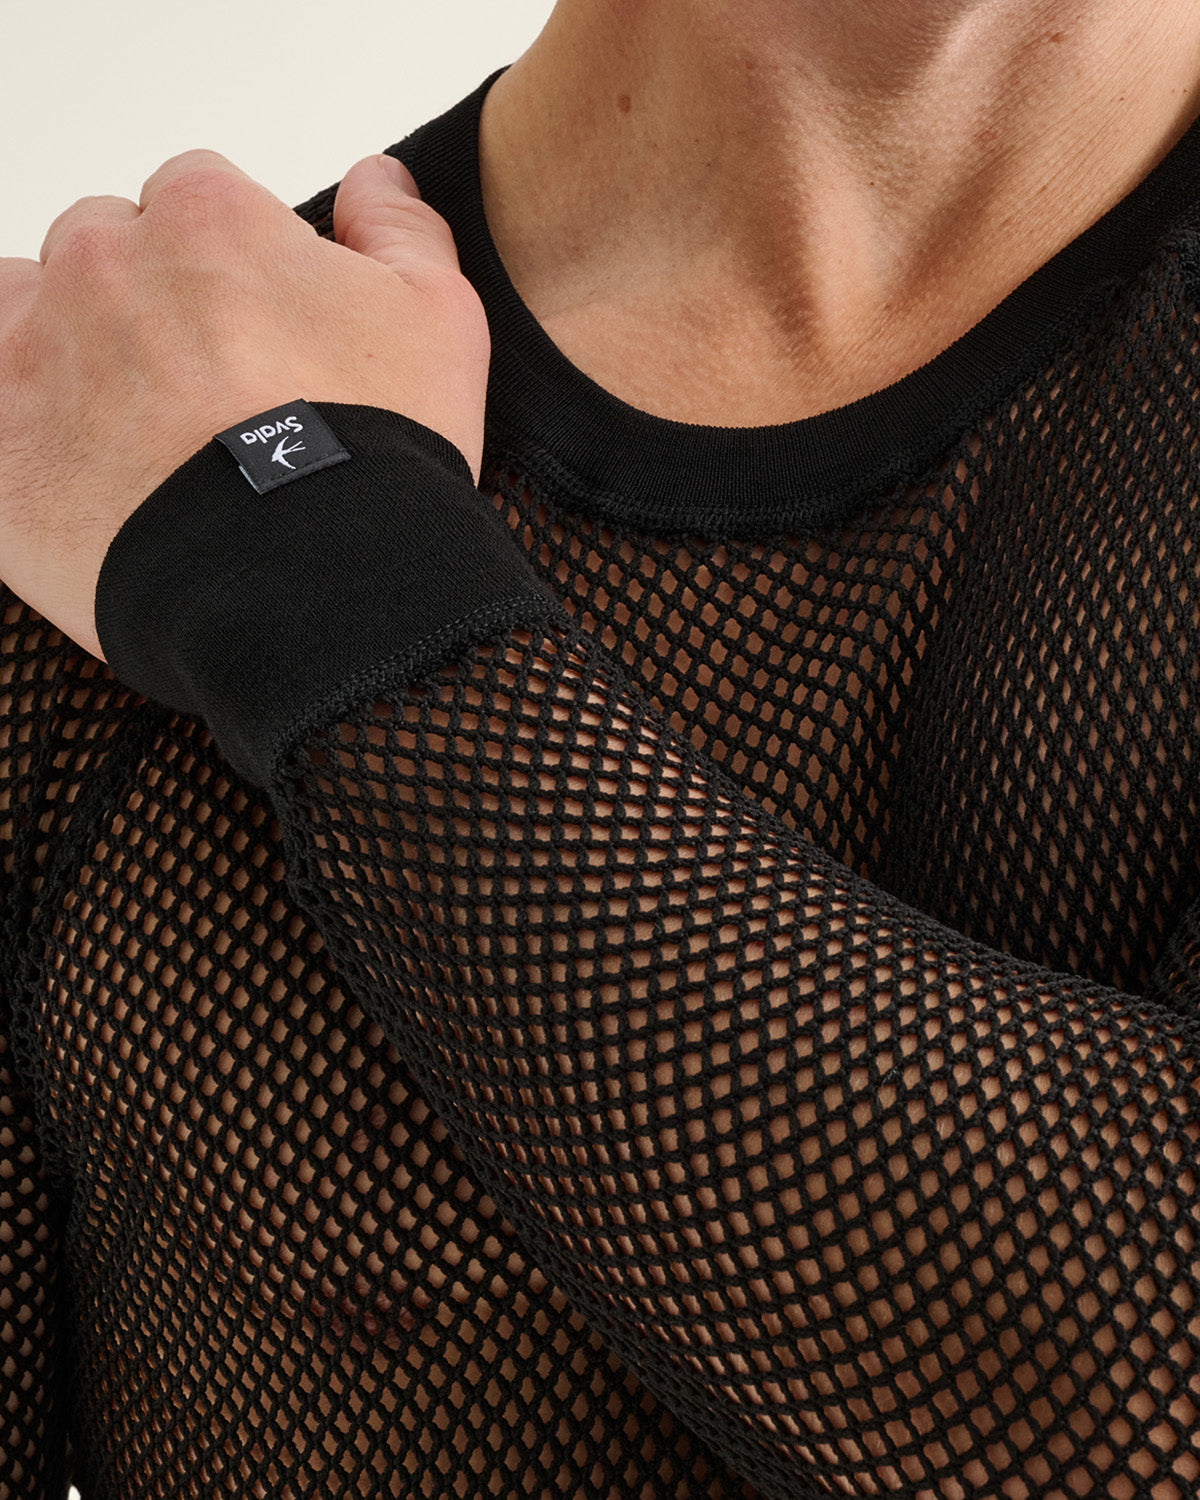
Everything starts at the skin. Under heavy exertion, pulling a pulk and on long climbs, you sweat even when it is cold. The best way to stay dry is to wear a thin Airbase mesh shirt and mesh bottoms next to your skin. In AIR System™ layering, this is the Zero Layer, the moisture-wicking layer worn next to the skin. Airbase is made of polypropylene, which does not absorb moisture but moves sweat away from your skin to the next layer straight away. Your skin stays drier even when your heart rate is high and the effort is hard, and you do not get cold as quickly when you stop.
1. layer: regulates temperature
Once your skin stays dry, the next layer brings warmth. Put a merino wool layer over Airbase: the workhorse of ski touring and the Base Layer of the AIR System™. A good option is the Merino Extreme top and bottoms: the merino wool keeps you warm while the technical material on the inside moves moisture away. Merino stays warm even when damp, so the layer holds on to your warmth even if moisture builds up in the garment during the day.
2. layer: insulates against the cold
When it gets colder or your pace slows, a warming layer alone is no longer enough. Over Merino Extreme, you need a thicker layer: the AIR System™ Mid Layer, the insulating mid-layer. While the Base Layer takes care of moisture transport and basic warmth, the Mid Layer adds insulation when your pace is slow and your body is not producing heat in the same way: on a steady trudge, on a windy open fell or while setting up camp.
3. Shell Layer: protection from the elements
The outermost layer completes your layering: the shell, the Shell Layer of the AIR System™. Its job is to keep wind, snow and rain out, so the warm air trapped in the layers below does not escape. Protection alone is not enough, though: the shell also has to breathe, so sweat is not trapped and does not soak the layers from the inside.
On ski tours, shell garments are often made of a breathable, windproof membrane fabric. Choose a shell jacket and trousers loose enough to fit comfortably over your other layers. The extra room is not a coincidence: insulating air stays between the layers and holds in your warmth. Good vents let excess heat and moisture out on climbs without you having to open the whole jacket.

Always pack a dry change of clothes and clothing for rest stops
In addition to the four layers, two things decide your safety and comfort at camp on a ski tour: a dry change of clothes and a set of insulated clothing for breaks.
Pack a dry spare set of base layers, a merino top and bottoms, just for camp and sleeping. Even if your skiing layers are damp at the end of the day, you will not get cold, because you can put on a dry set for the night.
Keep a thick down jacket or a synthetic insulated jacket at the top of your pulk or rucksack. When your heart rate settles during a break or at camp, put the insulated jacket on straight away, before your body has time to cool down. Your shell jacket is often damp, so at camp it is worth taking it off and hanging it up to dry before you put on the insulated jacket. Bring insulated down trousers for breaks too. For extra warmth, some ski tourers use a down skirt to keep their bottom and lower back warm when sitting.
Don't forget key accessories – protect your head, neck, fingers and feet
On a ski tour, your head and extremities need special attention, as the wind on open fells is relentless and heat escapes most easily from the extremities. Fingers, toes, cheeks, ears and nose are the first to get frostbite, and wet clothing and wind increase the risk. Layering works for accessories too: a thin layer against your skin and a warmer or windproof one over it.
- Head. Bring a thin merino beanie for skiing, a thicker wool beanie for camp and a balaclava that protects your face and neck in a snowstorm.
- Neck. A merino neck tube is a ski tourer's multi-tool: it works as a neck warmer or as a face cover in blowing snow. Pack at least two, as one is almost always drying.
- Fingers. Your hands take the wind head-on, so layering pays off here too: a thin merino liner glove against your skin moves moisture away and keeps your fingers dry. Over it go wind- and waterproof outer gloves. Bring several pairs of gloves, as wet gloves dry slowly in the field.
- Feet. Use the two-sock system in your ski boots: a thin merino wool liner sock underneath and a fairly thick merino sock over it. This helps prevent blisters and keeps your feet warm. Check at home that your boots have room for two socks, as a tight boot makes your feet cold. Also pack completely dry socks for camp and the night. Always put on clean, dry socks before you sleep, as dry feet are one of the most important ways to avoid getting cold.
The most common clothing mistakes on a ski tour
You see these mistakes in the fells every winter, and every one of them can be avoided:
- Too much clothing on the move. You start sweating straight away, and the wet layer chills you on breaks. Set off feeling slightly cool.
- The insulated jacket is at the bottom of the pulk. Pack it on top so you can put it on as soon as you stop.
- Standing in the wind on a break in nothing but sweaty base layers. Sweat cools your body quickly, so pull on a warm layer as soon as you stop moving.
- Boots too tight for two socks. A tight boot squashes the socks flat, so no insulating air stays in them and your feet get cold. Try your socks and boots together at home.
- Only one pair of gloves. Wet gloves dry slowly in the field, so bring several pairs.
- Cotton next to the skin. Always choose a moisture-wicking layer next to your skin.
- No dry set of clothes for camp. Always pack a dry set for camp and the night.
Clothing checklist for ski touring
How much clothing do I need for a week of ski touring? A good rule of thumb is based on the four-layer system, and the most important principle is to always have a completely dry set for camp and the night. Quantity and thickness also depend on the time of year: in midwinter you need thicker layers, while in late winter thinner ones are enough. Below is a minimalist but safe packing list for a week-long trip.
0 Zero Layer – Next-to-skin performance
- 1–2 × Airbase mesh shirt
- 1 × Airbase mesh bottoms
- For women, also a merino vest top that does not chafe
1 Base Layer – Temperature regulation
- 2 × merino base layer top: one for skiing, one completely dry for camp and the night
- 1–2 × merino base layer bottoms, with at least one dry pair for camp
2 Mid Layer – Thermal insulation
- 1 × thicker merino top
3 Shell Layer – Weather protection
- 1 × breathable, windproof shell jacket
- 1 × shell trousers
Break clothing: always within reach
- 1 × down jacket or warm synthetic insulated jacket
- If needed, insulated down trousers or a down skirt
Accessories
- 3 × merino socks: one pair on your feet, one drying or spare, one dry pair for camp
- Thin merino wool liner socks for your ski boots, for the two-sock system
- Thin merino beanie for skiing + thicker wool beanie for camp + balaclava for storms and hard frost
- 1–2 × merino neck tube
- Thin merino liner gloves + wind- and waterproof outer gloves
Why is a thin technical base layer alone not enough when you stop?
Synthetic material dries quickly, but after heavy sweating, standing still in a cold wind makes a thin technical fabric feel ice-cold against your skin. It is exactly this combination of sweating and sudden cooling that is dangerous in the fells: a thin technical base layer moves moisture away but does not keep you warm itself, so your body cools quickly as soon as you stop moving if you are not wearing a warming layer. Merino wool is the safer choice, as it keeps you warm even when damp and does not turn ice-cold when you stop.
Airbase, however, works on a different principle from other technical base layers: it does not absorb moisture but moves sweat away from your skin. The air pockets in the mesh structure add a little insulation that ordinary flat technical fabric lacks. Above all, Airbase is not worn on its own as a warming layer but, on a ski tour, under merino wool: the mesh knit moves sweat away before it can cool against your skin, and the merino provides the warmth. In fact, Airbase reduces exactly the risk described above.

How should merino clothing be cared for after a ski tour?
After a ski tour, a long airing in fresh outdoor air is often enough. If the garment has visible dirt, wash it according to the care label, usually on a wool cycle with wool detergent, so the knit keeps its shape and properties. Reshape the garment while damp and dry it flat. Read more in the detailed washing and care instructions.
You can wash your Airbase mesh set at 60 °C on a normal cycle in a laundry bag, but do not use fabric softener or a tumble dryer. Read more in the detailed washing and care instructions.
Tip for the trip: dry your clothes the right way during the tour too. Let frozen or damp clothes thaw and dry slowly, and do not dry them too close to a stove or open fire. Too much heat can damage merino fibres and burn holes in thin knits. Keep Airbase and other synthetic garments especially well away from open fire. In a wilderness hut, the best spot is warm but not hot, a little away from the fire.
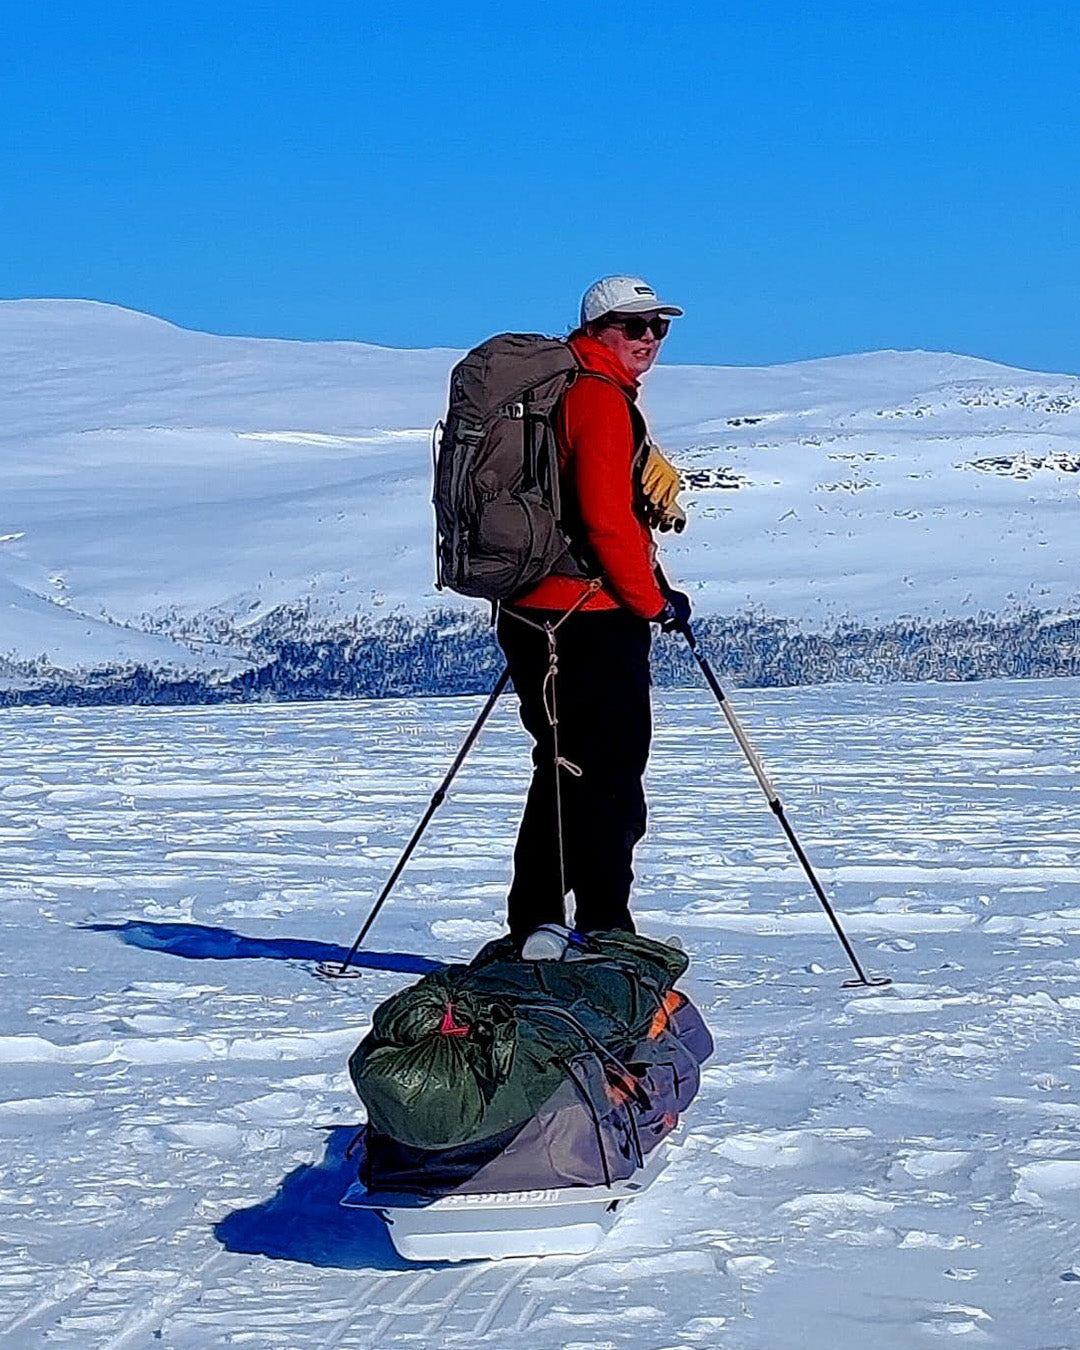
“On a demanding ski tour, I wear my Airbase underwear day and night, sometimes for more than ten days in a row. The day's frost forecast decides how many insulating layers I put on between Airbase and my shell clothing.”