




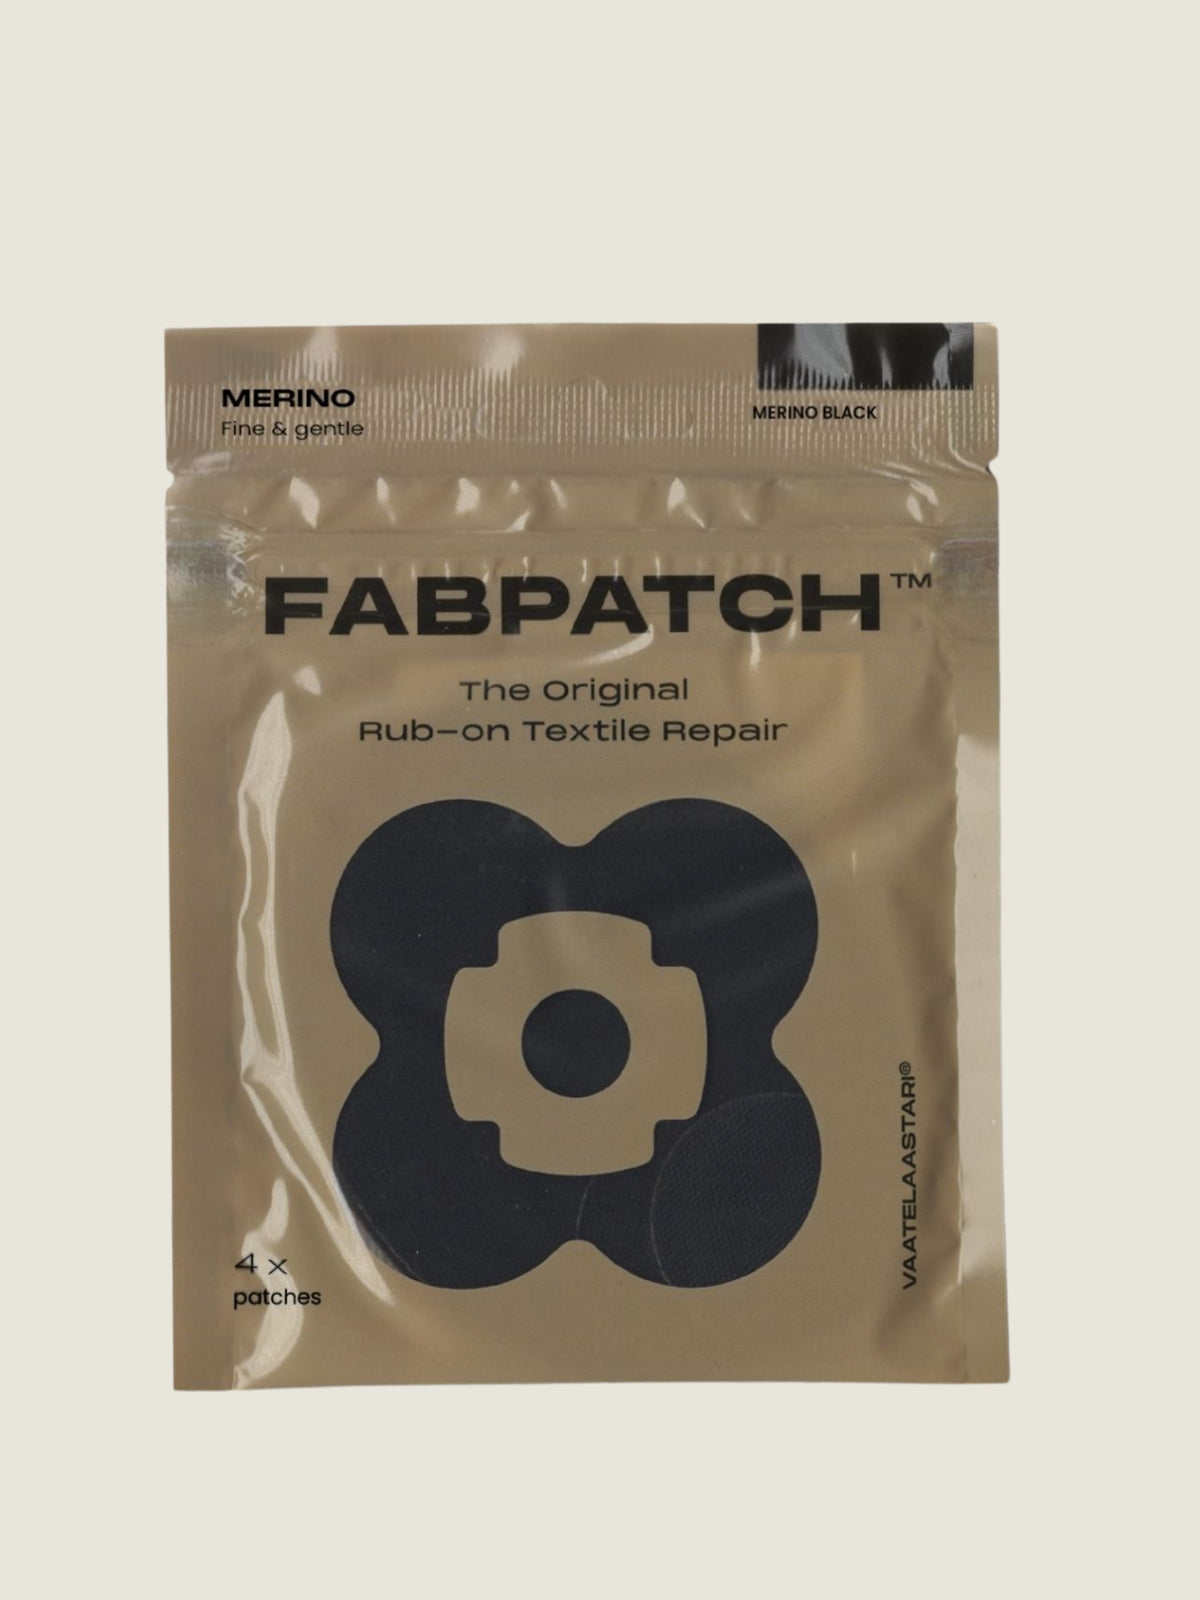
Vaatelaastari® Merino repair patches
Dispatched the next working day after you order.
Delivery from €5.90. Free delivery on orders over €120.
A repair that feels good against your skin too
The pack contains four Vaatelaastari® Merino patches in two sizes. The patches are made from a 100% merino wool knit that is stretchy and soft. Each patch is easy to attach without sewing, and it stays on through wear and washing.
Tip: put the patch on the inside of the garment so that the soft wool surface sits against your skin.
Which garments are the patches suitable for?
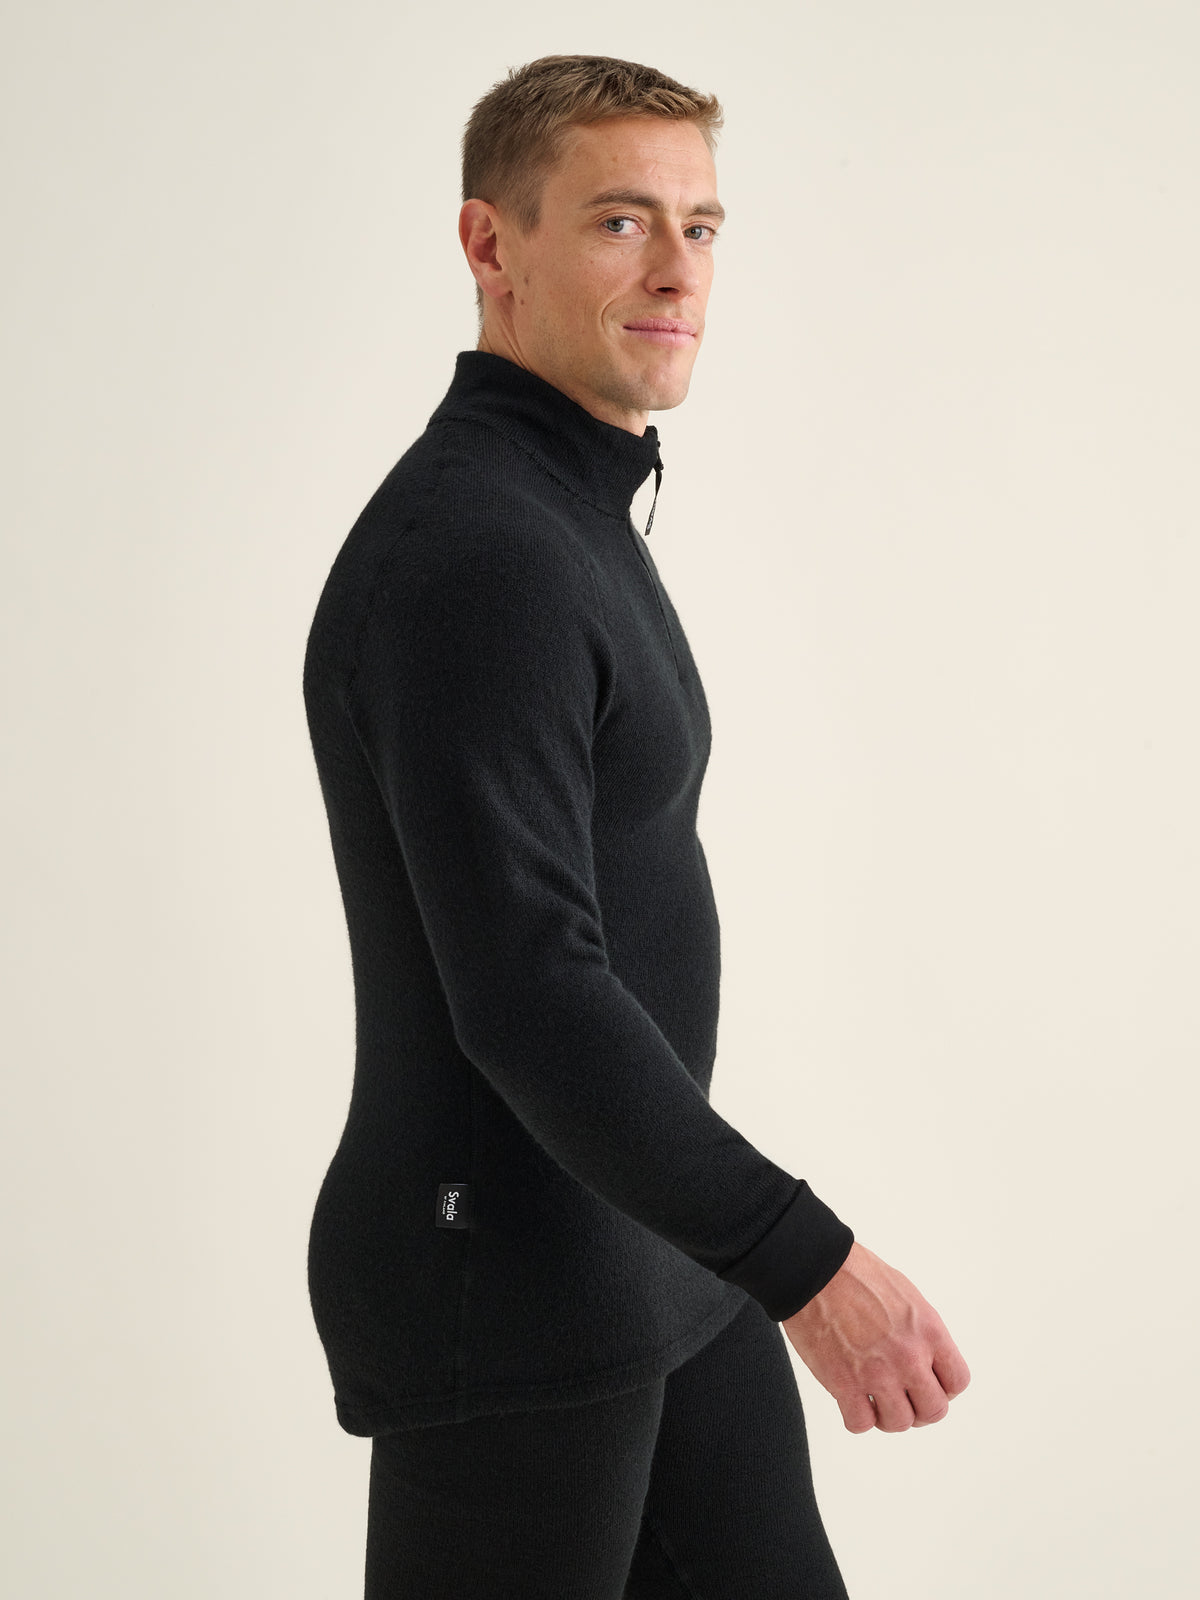
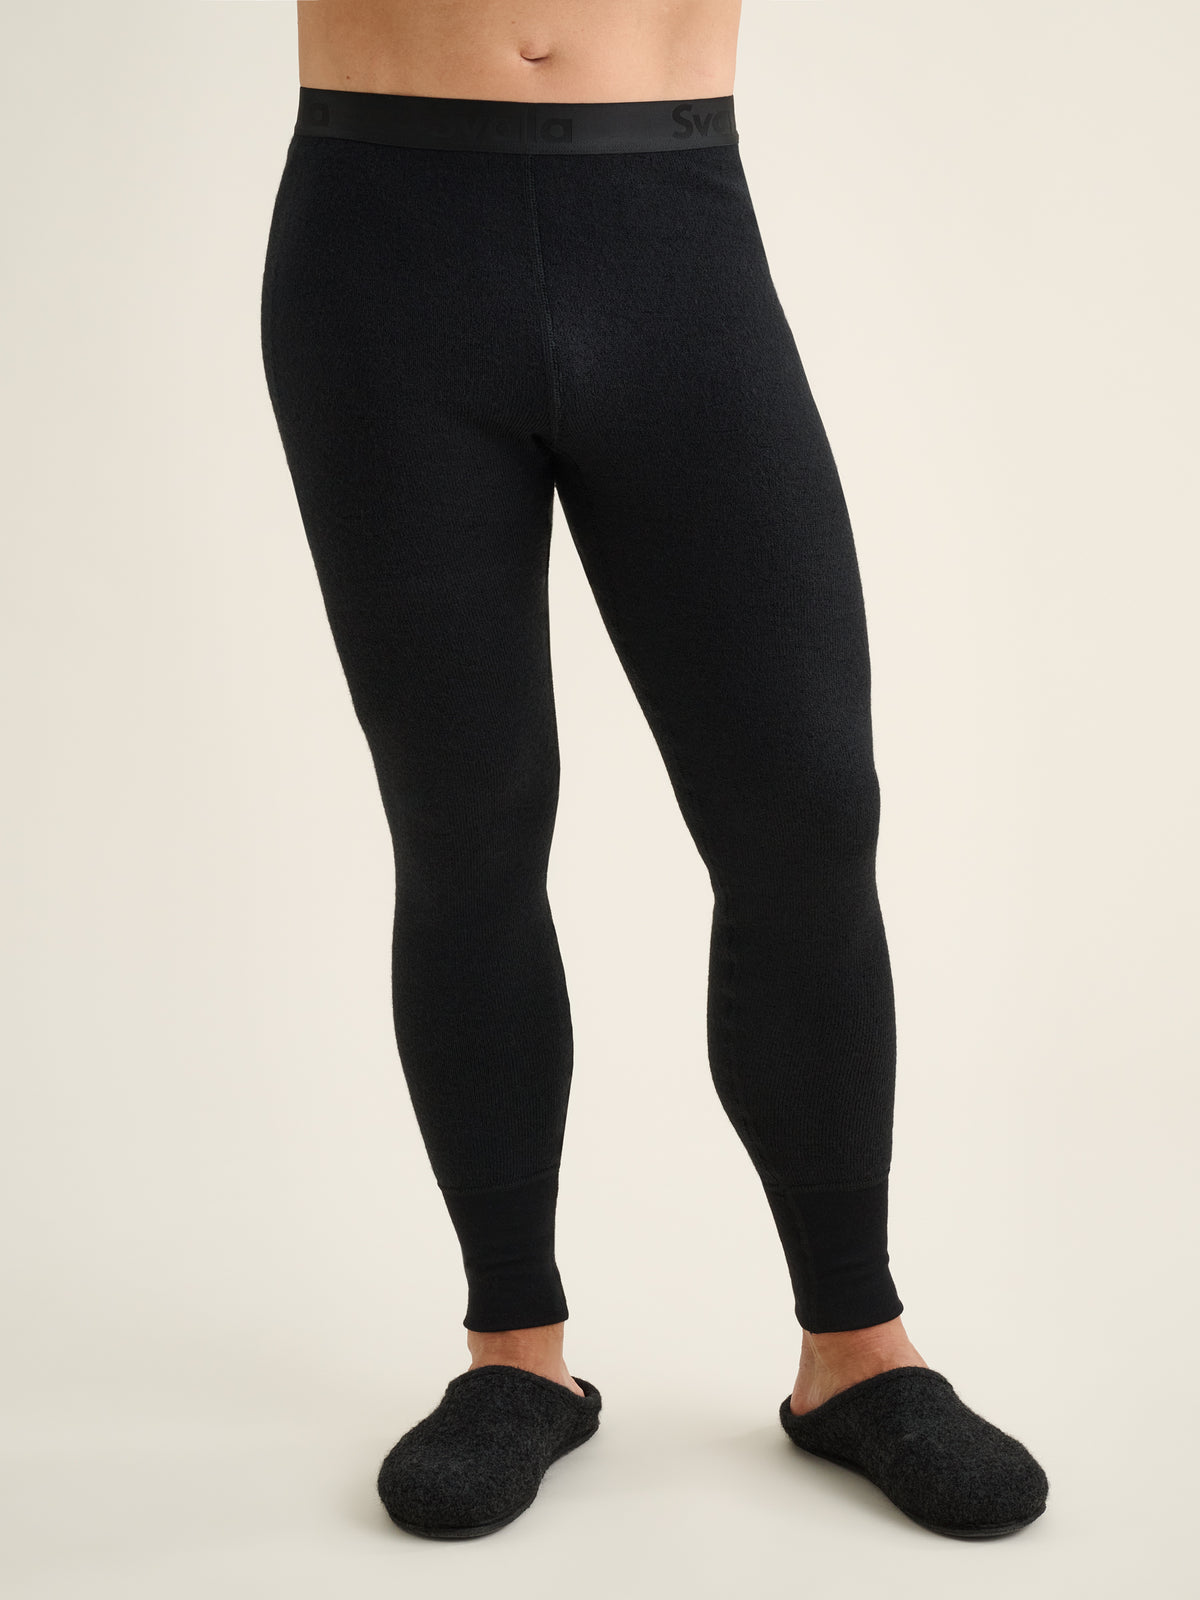
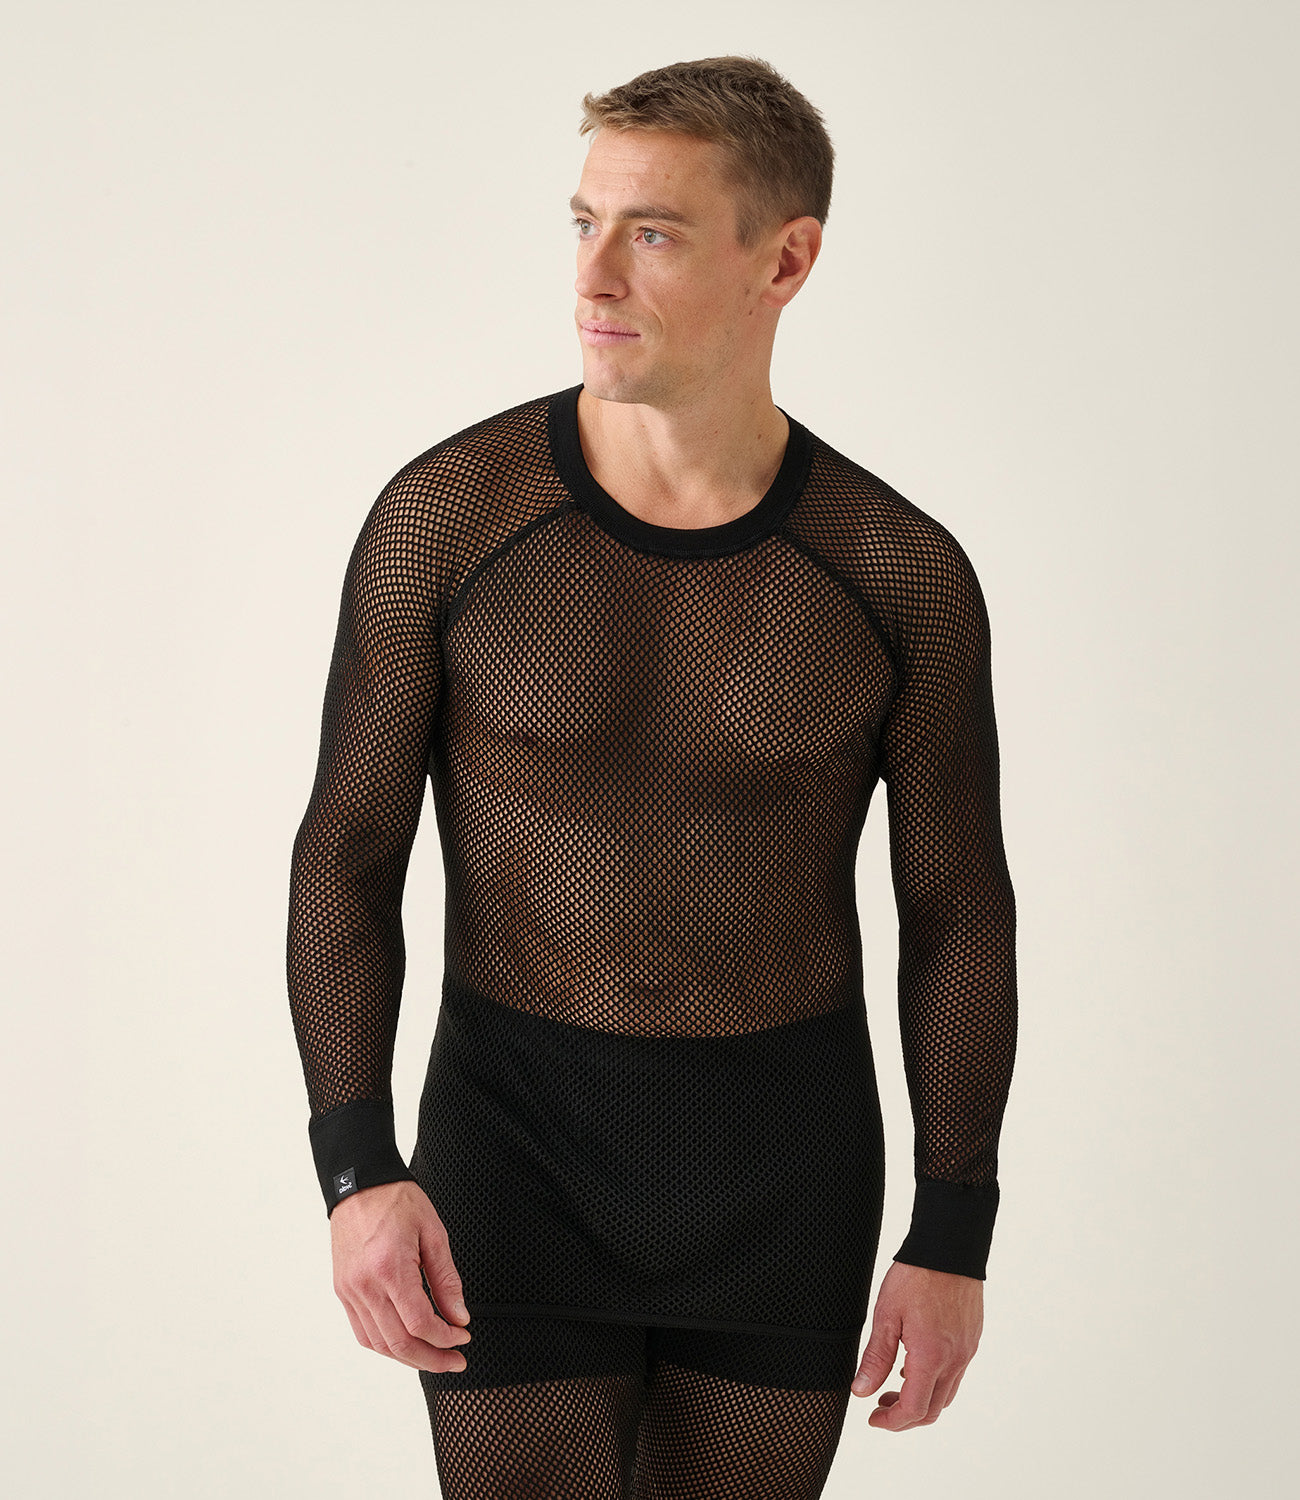
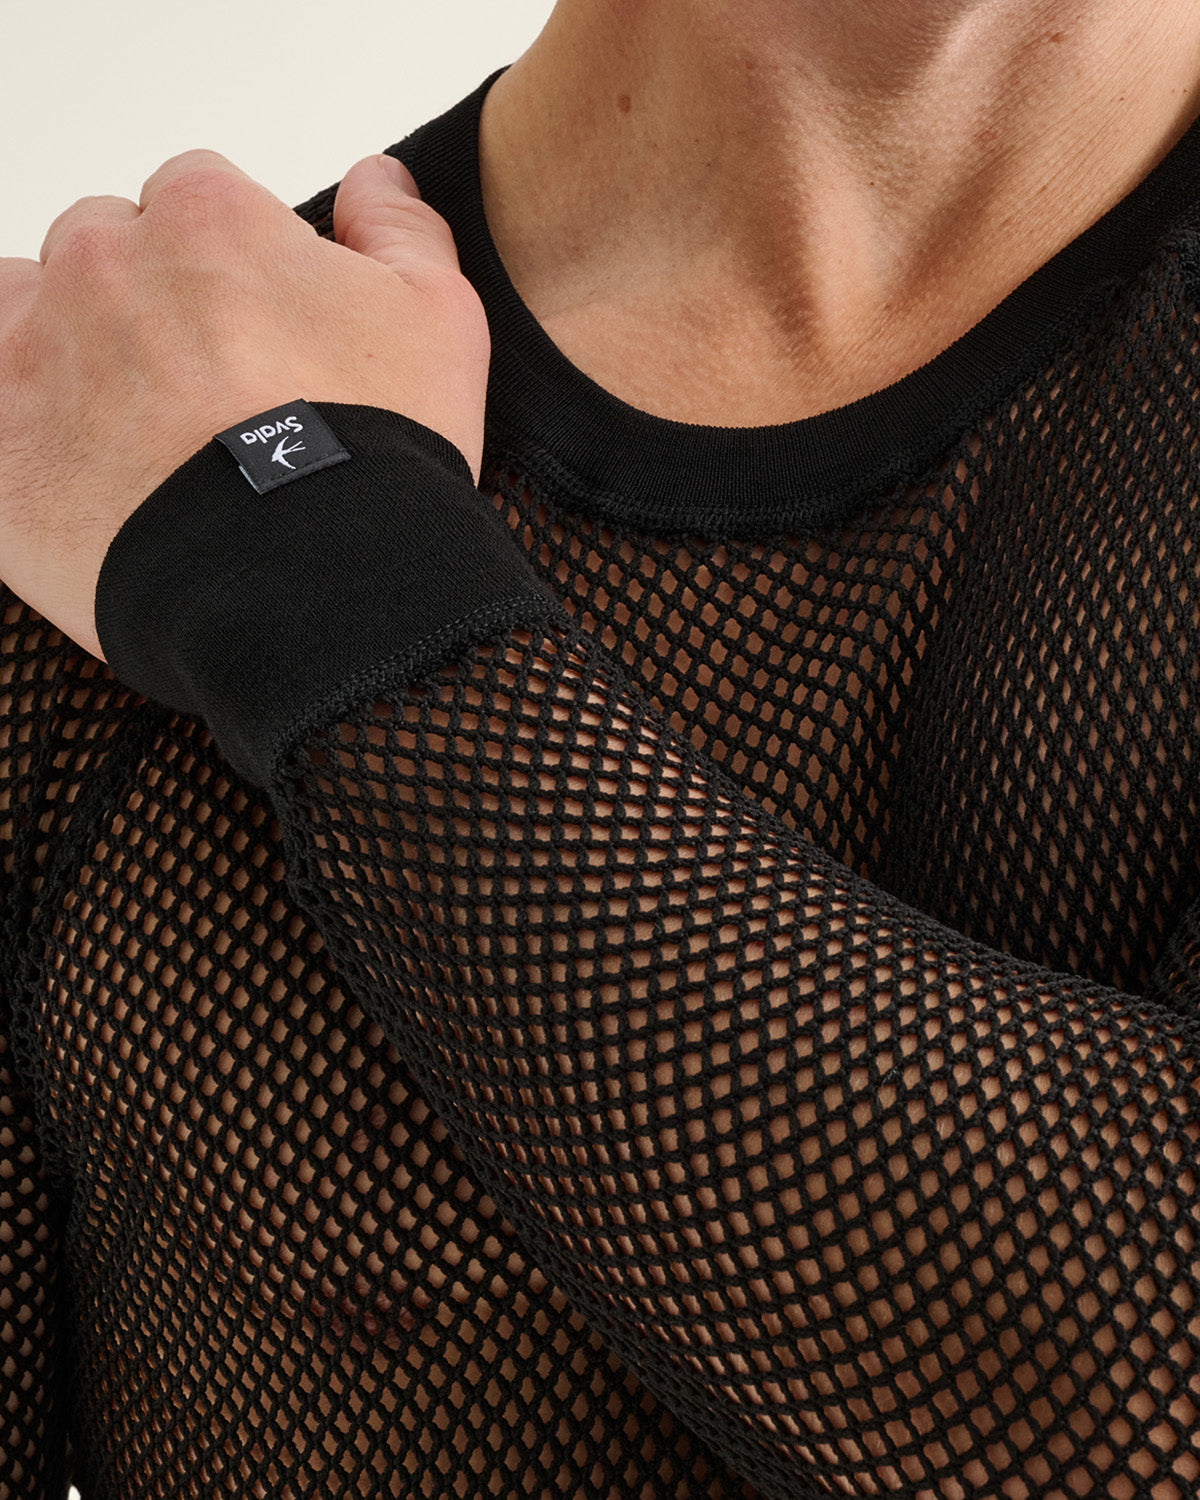
Vaatelaastari® Merino patches are especially suitable for merino wool base layers and other woollens. You can use them to repair garments from the Merino Extreme, Svala Signature Pääsky and Nordic Terry Wool collections, for example. Don't use a merino patch on a garment that contains no wool if its care instructions say to wash it at more than 40 °C. The wool patch may shrink.
Use a small patch to repair a small hole or to reinforce areas that wear, such as elbows, knees or underarms, before they wear through. A larger patch is good for covering a hole or as decoration. For a very small hole, you can cut a piece from a patch that is slightly larger than the hole. Round off the corners and leave enough adhesive surface around the hole. A cut patch may not stand up to washing quite as well.
How to attach a Vaatelaastari patch
Hold the fabric side of the patch and peel it about halfway off the backing paper. Peeling from the backing paper side is tricky. Place the exposed adhesive on the area you want to repair without touching the adhesive, and slide the backing paper out. If the hole is large, the adhesive may stick through the hole to the opposite side of the trouser leg or sleeve, or to the surface you're rubbing against. In that case, put a small piece of fabric or another Vaatelaastari patch on the other side of the hole, with the adhesive sides facing each other. You can pinch a small hole closed. Rub the patch firmly with a spoon or your fingernail for 1–2 minutes, ideally against a hard surface. Pay particular attention to the edges. The repaired garment is ready to wear straight away, but let the adhesive cure for at least 3 days before the first wash. The longer you wait, the better the patch will stay on.
Care instructions
Vaatelaastari withstands washing when the patch has been attached according to the instructions. Wait at least 3 days before the first wash. You can wash the textile at 40 °C and tumble dry it. Always follow the care instructions of the garment itself too. Don't dry-clean the garment or use detergents that contain softeners. Leave out fabric conditioner and bleach as well. Avoid gall soap, laundry vinegar and washing new textiles in the same load. They may soften the Vaatelaastari adhesive. Small threads may come loose from the edges. This is normal, and you can trim them with clean scissors. On coated textiles or textiles that contain chemicals, the patch may not stand up to washing as well.
| In the pack | 4 patches: 2 round 3.5 × 3.5 cm and 2 oval 8 × 10 cm |
|---|---|
| Attachment | By rubbing |
| Washing temperature | Up to 40 °C |
Product details
| Colour options | Black |
|---|---|
| Material | 100% mulesing-free merino wool |
| Manufacturing | Fabpatch Oy, Finland |

Frequently asked questions about the product
Frequently asked questions about the product
Svala AIR System™
Layer: Zero Layer – next-to-skin performance